Hey there, globe-trotters-to-be! 🌍
So you're ready to take on the world, one country at a time, but there's just one tiny problem—you don't have a passport yet. Don't sweat it; we've got you covered! This blog post is your ultimate guide to getting that all-important booklet that's your ticket to international awesomeness.
Why You Need a Passport
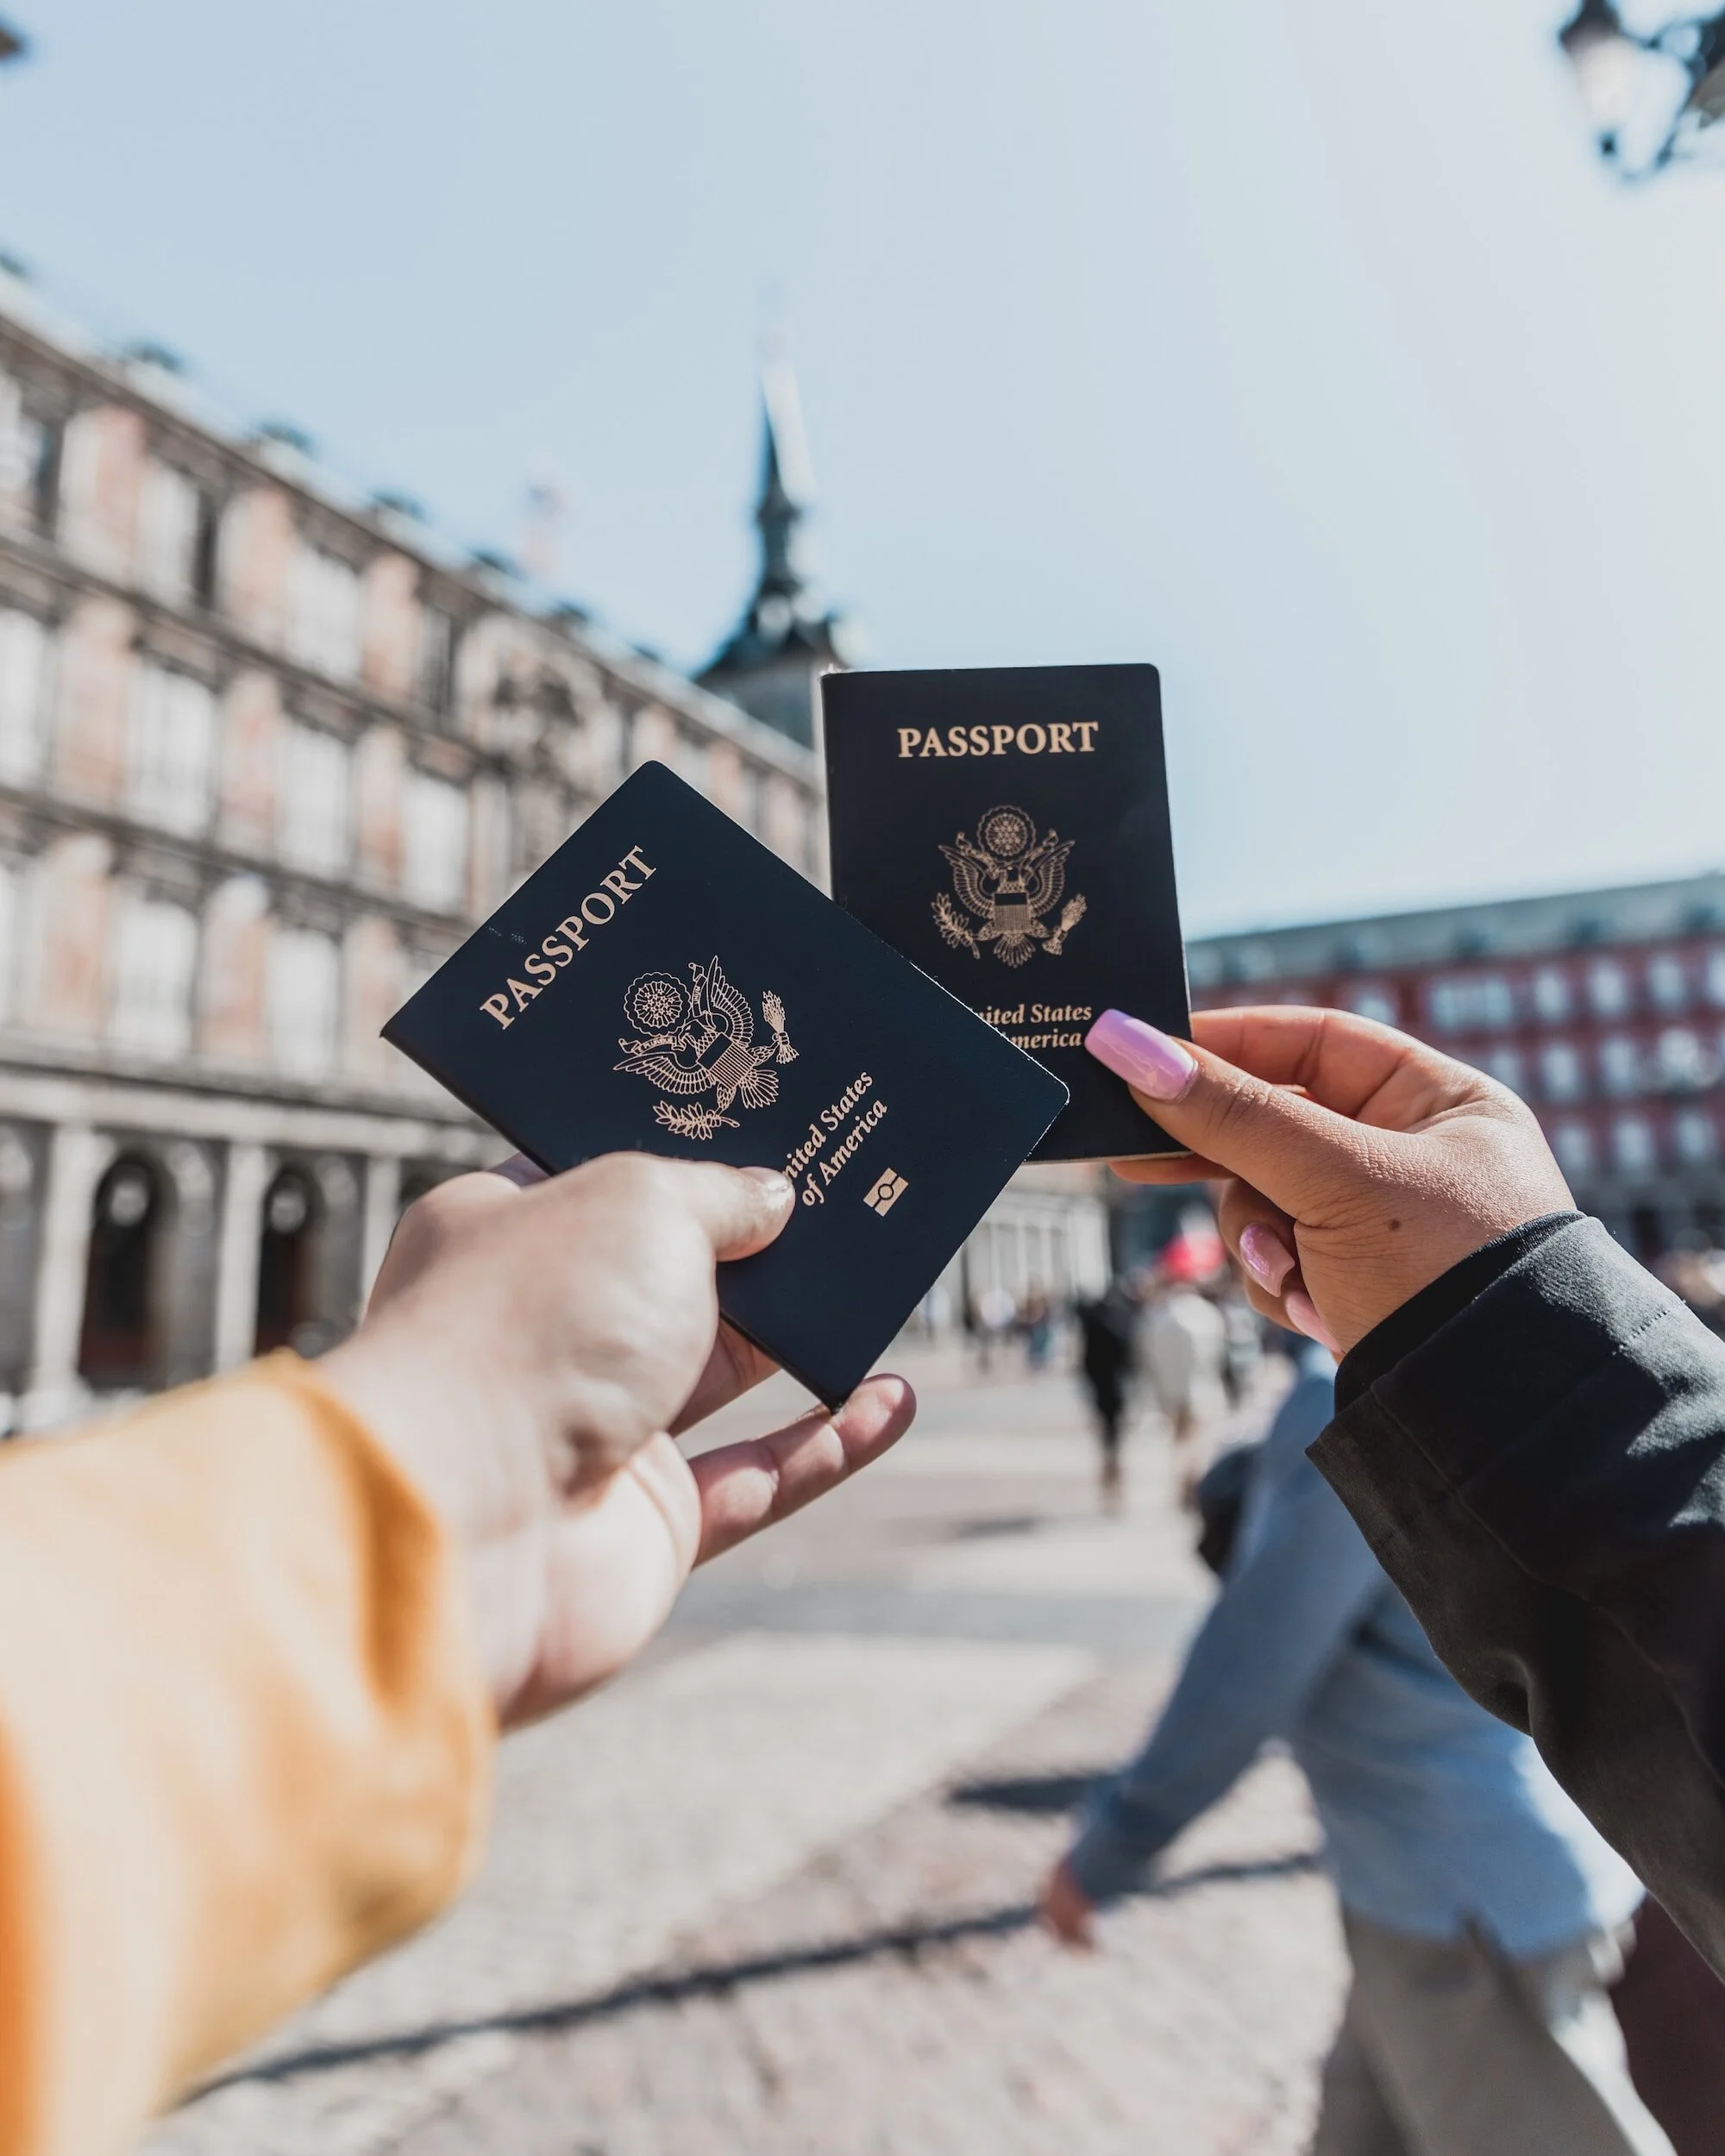
First things first, why do you even need a passport? Well, it's basically your golden ticket to the world. It's an official document that proves your identity and citizenship, and you'll need it to enter other countries and, ya know, to get back into your own!
The Name Game
Before we dive into the steps, let's talk names and information. When you're filling out your passport application, make sure your name matches exactly with the name on your birth certificate or any other official document you're using. This is super important because your passport name needs to match exactly with any bookings you make, like flights or hotels. Otherwise, you could face delays or even cancellations. Yikes! Make sure to enroll on your Passports tour using the exact information on your passport.
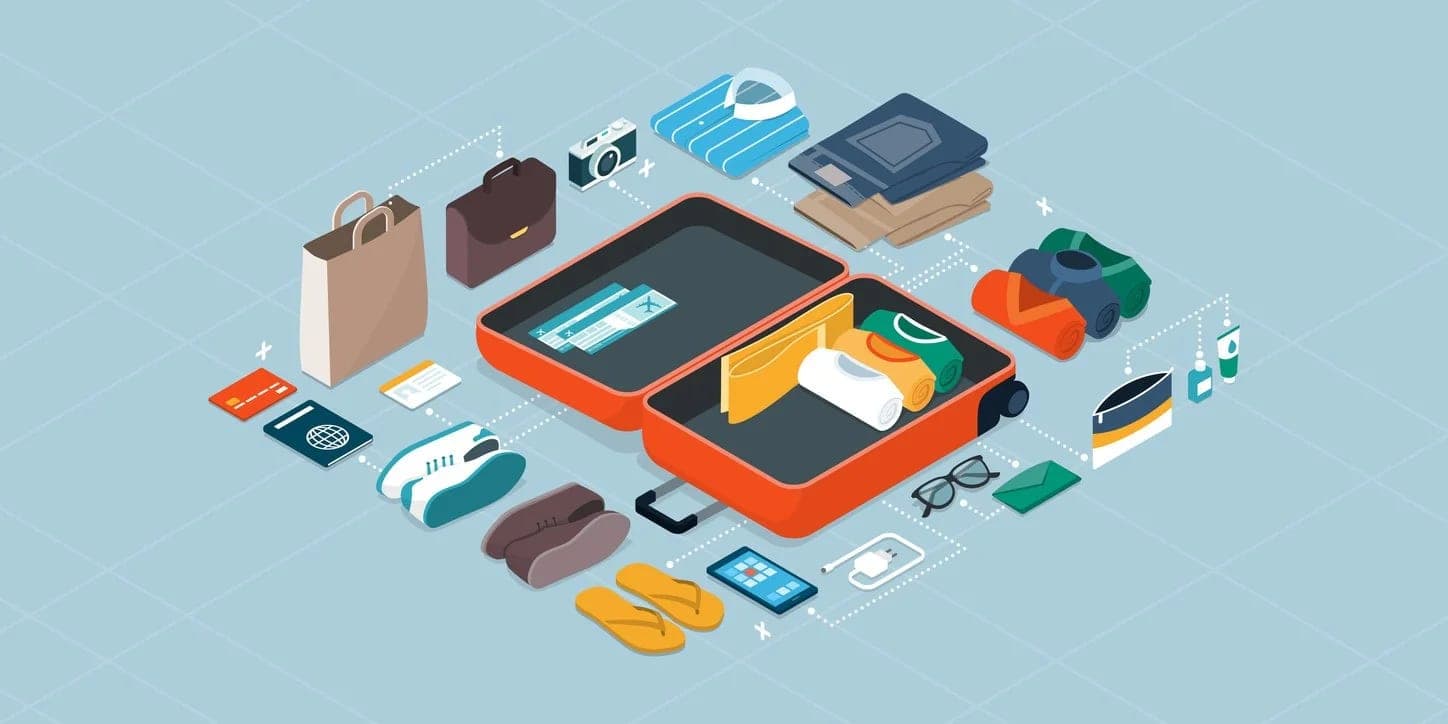
Step-by-Step Guide to Getting Your Passport
Gather Your Documents: You'll need proof of citizenship (like a birth certificate), government-issued ID (like a driver's license), and a passport photo.
Fill Out the Application: You can find the DS-11 form online or at your local post office. Fill it out but don't sign it yet!
Pay the Fees: As of now, it's $135 for applicants under 16 and $165 for those 16 and older. You can pay by check or money order.
Schedule an Appointment: Head to your nearest passport acceptance facility (usually a post office or courthouse) to submit your application. Don't forget to bring all your documents and fees!
Wait: Once everything is submitted, all you have to do is wait. It usually takes about 4-6 weeks, but you can pay extra for expedited service if you're in a hurry.
Receive Your Passport: Once it's ready, you'll either get it in the mail or you'll need to pick it up, depending on what you chose when you applied.
Is your passport expiring?
PRO TIP: Always, always make sure to check the expiration date on your passport. Even if it expires a few months after your trip, most countries will not let you enter if it expires within 6 months of your return. It’s always best to be overly prepared!